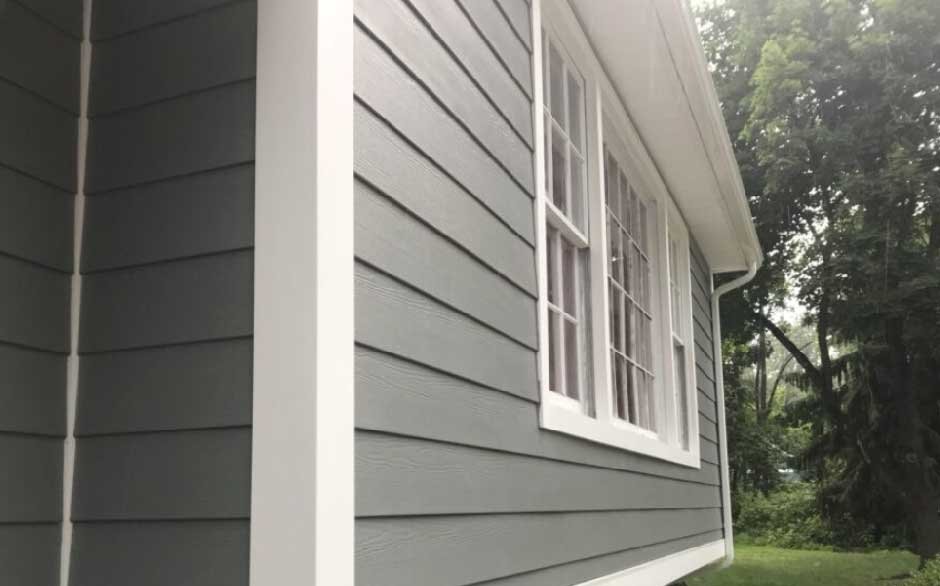
PVC profiles are easily some of the most adaptable materials out there if you want to enhance the look of your home’s exterior. With a variety of colours, finishes, and patterns available, they help you add personality and charm to any space, provided they’re installed correctly. And that’s the crucial part: getting the installation right. This material is highly versatile, but only when you handle it with the proper techniques.
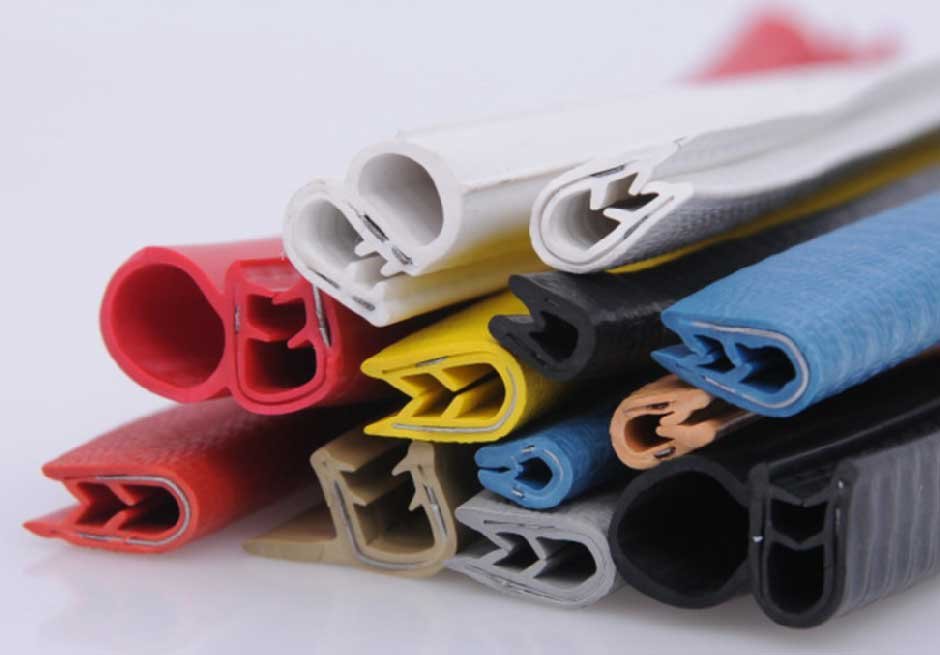
When looking for profiles for practical or decorative use, make sure to choose a durable PVC trim. These are resistant to moisture, chemicals, and UV exposure, perfect for indoor or outdoor projects. Polyvinyl chloride is a widely used thermoplastic, so these pieces combine durability with affordability and are known to stand up well to weathering, corrosion, and regular wear.
You can order standard profiles or request custom lengths, colours, and finishes. These pieces are also lightweight yet structurally sound, so they’re easy to cut, fix, and finish on-site, saving both time and labour. Read on to explore how to work with these materials confidently and effectively.
Cutting the Boards
If you’re diving into a PVC extrusion project for the first time, you’ll be glad to know that cutting it feels pretty like working with wood. You can use the same go-to power tools from your wood projects, which makes the transition seamless. But, like any good craft, there are a few details that’ll help you get the cleanest, most professional-looking results.
The big one to watch for is your blade. A carbide-tipped saw blade works best, especially one with fewer teeth. That might sound counterintuitive, but fewer teeth mean less heat buildup, and that helps prevent the material from gumming up or melting as you cut. A hybrid 32-tooth blade usually does the trick nicely, giving you a sharp edge without rough or melted bits hanging on.
When you cut through the material, you’re slicing into its cellular structure, and that leaves behind some surface dust. So, give the edges a light touch-up with some 320-grit sandpaper. A quick wipe-down with acetone afterward helps clean off the residue and brings out that smooth, finished look.
Drilling
Once you have your pieces cut to size, the next step is drilling. You can grab your usual woodworking drill bits for the job, but a little attention to detail can go a long way toward getting clean, precise holes that hold up beautifully over time. The key is to get the angles right. You’ll want a bit with a point angle in the 90 to 110-degree range, a spiral angle around 30 degrees, and a relief angle of about 10 degrees. That combination helps the bit move smoothly through the material without chewing it up or leaving rough edges behind.
Lastly, don’t forget to clear out the shavings from each hole before moving on. It’s a small step that makes a big difference when it’s time to fill or fasten. When done right, you’ll be left with neat, solid holes that are ready for whatever comes next in your build.
Best Practices for Routing
The process of routing feels familiar if you’ve worked with this type of material before. Using a standard router fitted with carbide-tipped bits on your PVC trim makes it easy to carve out decorative edges or clean grooves with precision. Just make sure your tool is nice and sharp before you start, as a freshly honed bit gives you the smoothest results and helps avoid any tearing at the edges.
To keep things looking crisp, go with bits that cut using small radii rather than broader angles. This helps reduce the chances of stress cracks showing up along those detailed cuts. And as simple as it sounds, keeping both your material and tools free from dust and grime as you work can make a difference. A clean board routes more smoothly, and your finished result looks cleaner, sharper, and more professional all around.
Fastening and Cementing
Stainless steel screws are the top choice for fastening plastic extrusions, they won’t rust over time, and if you’re leaving the boards unpainted, they’ll prevent any unsightly staining or “bleeding.” If screws aren’t your go-to, hot-dipped galvanized nails are an option, but keep in mind that they can eventually corrode and leave marks behind.
For the best results, use nails or screws that are thin yet strong, with rounded heads and blunt points. You want to position your fasteners a couple of inches away from the ends of the boards to keep everything firmly in place. These boards naturally expand and shrink a little as temperatures shift, so securing them into the framing is key to minimizing movement over time.
If you’re working with wider boards, you’ll need more fasteners across the width to prevent bowing or flexing. Just be consistent with spacing so nothing warps down the line. And if you’re planning to join pieces end-to-end, there’s a smart trick to make it all seamless. Special PVC cement lets you essentially “weld” the joints together. You’ll have a few minutes of working time before it sets, so act fast. Apply some cement, line things up, clamp or screw them together, and you’re good to go.
Gluing
What glue should I use for PVC trims? When it comes to bonding boards together for the long haul, using the right adhesive makes a big difference. Instead of reaching for silicone-based products, go with a sealant that’s polymer-based and contains solvents.
These solvents react with the surface just enough to create a strong, almost welded bond between the pieces. It’s the same idea behind PVC pipe glue. This is designed specifically for this material and is super reliable. Just apply a bit of the adhesive to each board, press them firmly together, and let the chemistry do the work.
Filling holes
Once you’ve secured everything in place, you’ll notice some leftover holes that can take away from the clean look you’re going for. Here’s how to fix that quickly:
- For small holes, use a good-quality exterior filler or a concealed plug system like Cortex for a seamless finish.
- Once it’s dry, give it a light sanding to smooth it out.
- For larger gaps or damage, try auto body filler – it bonds well and sands down nicely.
- If you need a polished touch, Starborn or Cortex plugs are great options to blend things in effortlessly.
Joints
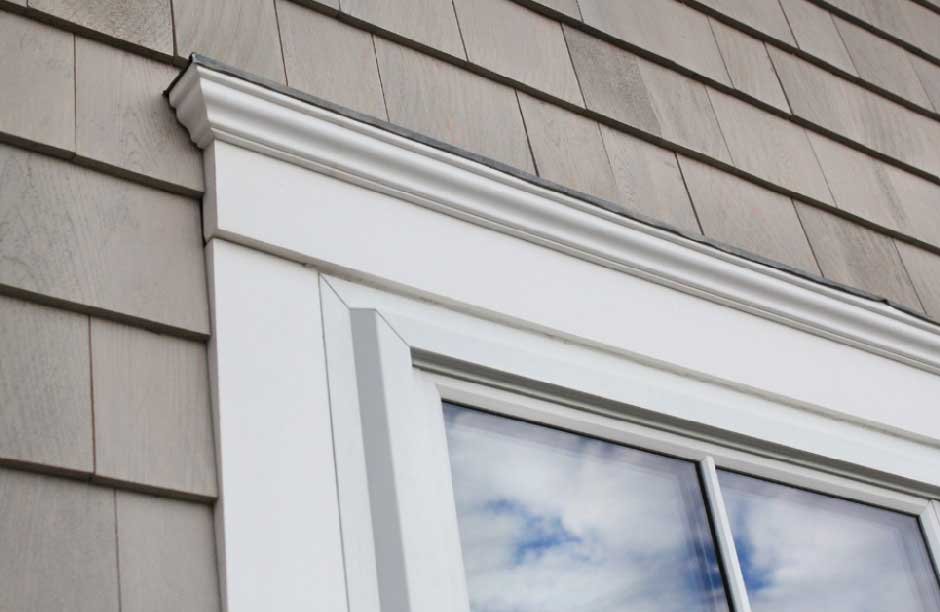
When you’re working with PVC profiles and need to join two lengths end to end, a scarf joint is the go-to method. It’s that neat 45-degree overlap you often spot around windows. Make sure everything stays put and doesn’t split. The first board should stop just before the stud, leaving space for the second piece to overlap and anchor into the stud securely.
Staining
Even though there’s no need to paint these boards for protection, a splash of colour can bring your exterior to life. If you decide to paint them, stick to acrylic latex-based paints, which tend to hold up best. Just be careful with darker shades since they soak up more heat and could cause some warping over time. Make sure the surface is completely clean and dry before you get started. A quick wipe with a bit of acetone helps prep it nicely. Once painted, give it time to cure. This will take around a month, depending on the weather.