
Worrying about where to mount a dash cam legally, which power option to choose, or whether it will actually record when it matters stops a lot of people from getting started. This guide solves those three headaches at once: where to put it so it doesn’t block your view, how to power it without turning your cabin into a tangle of cables, and which settings to lock in so clips don’t disappear. We’ll walk through an easy, step‑by‑step install, then the key tweaks that prevent “it wasn’t recording when I needed it.” For example, you can use a proven portable dash cam line as a practical lens for what a modern, quick‑install camera can do without being complicated.
Why a trusted portable dash cam brand matters
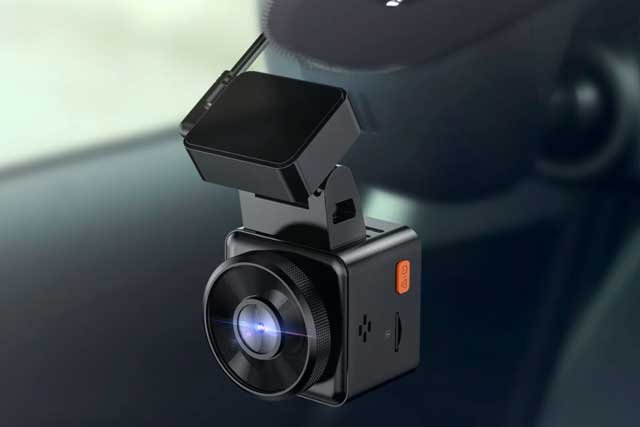
The portable dash cams by Vantrue combine small footprints with features first‑time users actually rely on—high‑resolution capture, loop recording with G‑sensor event locks, optional GPS via mount, app control, versatile mounting, and parking protections when paired with a hardwire kit. Choosing a proven line means the basics (power, storage, stability) are predictable, so your focus stays on driving, not fiddling with the device.
What “portable” means in practice
A portable dash cam should mount and remove quickly, tuck high and center behind the mirror, and accept multiple ways to power it—vehicle outlet, power bank, or (for parked monitoring) a hardwire kit. Compact designs stay out of your line of sight and make it easy to move the camera between cars, rentals, or rideshare shifts.
Why portability helps
If you switch vehicles, you can reinstall in minutes; if you’re renting, you can power from a bank instead of the car; and if you park on the street, you can add parking detection later with a hardwire kit. The right spot is always within the wiper‑swept area, high and centered, so the lens sees clearly without obstructing your view.
Decide on power and placement before you start
Choose mount position & prep the glass
Clean the glass with isopropyl alcohol, let it dry, then apply the adhesive or mini‑suction mount behind the mirror. Hold for about 30 seconds. Sit in your normal driving position and confirm the device isn’t visible in your primary forward view; if it is, nudge it higher or closer to the mirror stalk.
Pick a power strategy
Choose the option that matches how you drive.
| Power option | Install complexity | Typical use | Pros | Considerations |
| Internal battery or supercapacitor | Very low | Short stops, quick moves between cars | Cable‑free for brief sessions; survives power dips | Limited runtime; many models use supercapacitors (built for heat) rather than large batteries |
| Vehicle 12V outlet (cigarette lighter) | Low | Daily commuting | Auto‑on with ignition; simple | Visible cable unless routed neatly |
| USB power bank | Low | Rentals, rideshare breaks, parked clips | Flexible placement; no outlet needed | Ensure the bank meets output specs; manage heat |
| Hardwire kit | Moderate | Parking mode/always‑on monitoring | Clean cabin; parked protection with voltage cut‑off | Install time: choose the correct fuses/ground points |
Tip: If you plan to use parking features regularly, budget for a hardwire kit with battery protection. If you mostly want driving footage, the 12V outlet is quick and tidy.
Cable routing and a tidy cabin
Tuck the cable along the headliner, down the A‑pillar (avoiding airbag paths), and under the glovebox or center trim. This keeps the cabin uncluttered and the mount stable.
Power‑on safety check
With power connected, confirm the live view shows the horizon straight and only a sliver of the hood. If the camera blocks any part of your forward view, reposition before you drive.
Quick install: step‑by‑step
Mount
Clean → stick the mount high/center behind the mirror → slide on the camera → level it.
Power
Use the 12V outlet, a power bank, or a hardwire kit—whichever you planned.
Align & test
Turn the ignition on. Use the app’s live view to fine‑tune framing. At night, check exposure around streetlights and signs; enable HDR/WDR if your model supports it.
Confirm recording and storage.
Insert a quality microSD card (check your model’s capacity limits). Enable loop recording so old clips overwrite, and set the G‑sensor so genuine bumps lock to an Event folder. Keep clip length reasonable (e.g., 1–3 minutes) for quicker transfers.
Configure core features after mounting
App & connectivity
Use the mobile app to frame the view, adjust resolution and bitrate, set date/time, and transfer clips. For supported models, Bluetooth remotes can lock an event with a quick tap, and voice commands let you save a clip or start/stop recording hands‑free.
Recording behavior
Turn on loop recording, verify the timestamp, and set G‑sensor sensitivity so minor potholes don’t flood your Event folder. Consider enabling audio, which can add context during disputes.
Location & storage
If your model supports GPS (often via a GPS mount), enable speed/route logging for added context in evidence. Keep a habit of offloading important clips promptly—don’t depend on a full card to preserve them forever.
Feature setup on your portable dash cam
Many recent models offer HDR for night clarity, optional CPL filters to reduce glare, and parking modes (impact/motion/time‑lapse). For parking, plan on a hardwire kit with a low‑voltage cutoff to protect your car battery.
Power variations you may encounter
Battery‑equipped vs. supercapacitor designs
Small internal batteries can power quick clips when the car is off, but they’re not meant for long unplugged sessions. Supercapacitors tolerate heat better and are common in compact designs; they rely on external power for normal use but help the camera shut down safely.
Using a power bank
A high‑output bank can power a camera for short parked sessions or in rentals. Secure the bank, keep it shaded, and confirm it meets the camera’s USB output spec.
Always‑on/parking use
Parking features (impact/motion or time‑lapse) need steady power. Use a hardwire kit with an adjustable voltage cutoff so the camera stops before draining your battery. Fine‑tune motion sensitivity to reduce false triggers. Many portable dash cams by Vantrue support adjustable cutoff levels when paired with their branded hardwire kits, which helps protect the vehicle battery during long parking sessions.

Troubleshooting at a glance
No files appear: Reformat the card in‑camera and confirm loop recording is on.
Glare or blur: Clean the windshield, check lens angle, and consider an optional CPL filter if supported.
App won’t connect: Toggle the camera’s Wi‑Fi, reboot the phone, and reconnect to the camera SSID; check for firmware updates in the support app if available.
Random shutdowns: Reseat cables and the mount; try a different 12V outlet. In parking mode, raise the voltage cutoff or reduce sensitivity to avoid unnecessary draw.
Card fills too fast: Shorten clip length, lower bitrate slightly, or move to a higher‑capacity, high‑endurance microSD card compatible with your model.
Conclusion
A clean install comes down to three things: a mount position that preserves your view, a power plan that suits your routine, and recording settings that protect crucial clips. With those locked in, you’ll have reliable evidence if something goes wrong and an effortless, everyday recording when everything goes right. If you’d like a compact starting point that keeps setup simple, this portable collection offers the core features most non‑techie drivers need—without turning your dashboard into a project.