Skip to the good bit
ToggleOil stains have a habit of turning up uninvited and overstaying their welcome. One minute it’s a tiny drip, the next it’s a blotchy mess spreading across the floor.
Fortunately, with the right approach, even the worst offenders can be shown the door.
How to Stop Stains Before They Start
The simplest way to deal with oil stains is to avoid them altogether. Placing strong, absorbent drip trays beneath your car will catch any leaks before they reach the floor. In busy areas where the wheels regularly roll in and out, rubber mats can offer extra protection.
It’s also a good idea to stay on top of your car’s condition. If it starts leaking oil, even a little, deal with it promptly. A small leak can quickly turn into a large stain.
Keep a basic spill kit in the garage too. A few absorbent pads or granules on hand could make the difference between a quick wipe and a time-consuming scrub.
What to Look For Before You Start Cleaning
Before grabbing your scrubbing brush, it helps to assess exactly what you’re dealing with. Start by clearing the area of dust, tools, and anything else that might get in the way. This allows a full view of the stained surface and its severity.
New stains tend to look dark and shiny, suggesting the oil is still close to the surface. These are often easier to treat. Older marks usually appear dull and slightly grey, indicating the oil has soaked deeper into the concrete.
There’s a simple trick to test it. Drop a small amount of water onto the stain. If the water beads up, the oil hasn’t sunk far. If it disappears quickly, the damage runs deeper. Knowing this will help you decide how intense your cleaning method needs to be.
Tackling Fresh Stains with Household Fixes
If the stain is relatively fresh, you might be able to remove it using items already in your home. These methods are inexpensive, accessible, and work well when used promptly. They’re especially useful for light to moderate stains, though they do demand a bit of elbow grease.
One of the most surprisingly effective solutions is clay-based cat litter. Sprinkle a generous amount directly onto the stain and leave it overnight.
For better results, gently crush the litter into the floor using your boots. In the morning, sweep and vacuum up the remains. This works best for fresh spills before the oil has had time to soak in.
Another method involves dish soap. Use a variety known for breaking down grease and mix it with hot water to form a thick, soapy paste. Scrub the stain with a stiff brush in circular motions, then let the mixture sit for around 30 minutes.
After that, scrub again and rinse thoroughly with boiling water. It’s a simple routine that can bring surprising results.
For tougher patches, try a dedicated concrete degreaser from your local motor shop. These are made for oil-stained garage floors and can be applied with a pump sprayer for even distribution.
Let the solution sit for 15 to 20 minutes, scrubbing the surface every few minutes to help the product penetrate. This extra effort helps lift even older marks from the concrete’s pores.
When It’s Time to Bring in the Big Guns
If your efforts with soap and scrubbing don’t quite cut it, you may want to consider expert help. Services specialising in garage floor pressure cleaning can make short work of the most stubborn stains using heavy-duty tools and advanced cleaning solutions.
These skilled workers use industrial pressure washers that are far more powerful than any domestic models. The machines can reach up to 4000 PSI and offer hot water cleaning, which significantly improves the removal of oil.
They also come equipped with specialised attachments designed to clean concrete safely and thoroughly.
The process typically begins with a full assessment of your floor. Once they’ve identified the problem areas, technicians apply commercial-grade degreasers and allow them to work their way into the surface.
This is followed by a hot water pressure wash, often accompanied by scrubbing with mechanical brushes. If necessary, further cleaning agents are used to ensure no traces are left behind, and a final rinse removes any lingering residue.
One of the advantages of professional treatment is access to cleaning chemicals not available to the average customer.
These often include two-part cleaners with emulsifying agents that break down the oil, followed by pH-neutralising treatments that protect the concrete once the stain has been lifted.
Following a Proper Cleaning Sequence
If you’re handling the clean-up yourself, it’s worth following a proper step-by-step approach to get the best results. Start by generously applying the cleaner from the outside of the stain inward.
This helps contain the oil and prevents it from spreading. For deeper marks, let the solution soak in for 30 to 45 minutes to allow full penetration.
Next, scrub the surface firmly with a wire brush, using overlapping strokes to ensure no spot is missed. Rinse thoroughly with clean water under strong pressure, and if any residue remains, repeat the process.
Once clean, apply a pH-neutralising rinse to rebalance the surface and reduce the risk of long-term damage.
The Poultice Trick for Deep, Set-In Stains
Some stains prove more persistent than others. When nothing else seems to work, the poultice method is often the answer.
To create a poultice, mix cement powder with a strong degreaser until it reaches the consistency of thick paste. Apply a 6 mm layer directly over the stain, extending the paste roughly 5 cm beyond the edges. Cover the area with plastic sheeting and tape down the edges to seal it.
Leave the mixture for 24 hours. During this time, the paste draws out the oil through capillary action, effectively pulling it from within the concrete.
Once dry, remove the plastic and scrape away the hardened mixture. It’s a slow but very effective technique for older, embedded stains.
Protecting and Maintaining a Clean Garage Floor
Once you’ve dealt with those oil stains, give the floor a full 24 hours to dry before parking over it. This helps avoid trapping moisture beneath tyres or mats.
After it’s fully dry, applying a concrete sealer is a wise move. These products soak into the surface, forming a barrier that helps guard against future spills.
For best results, use two thin coats rather than one thick layer. This allows for better absorption and offers longer-lasting protection across the entire area.
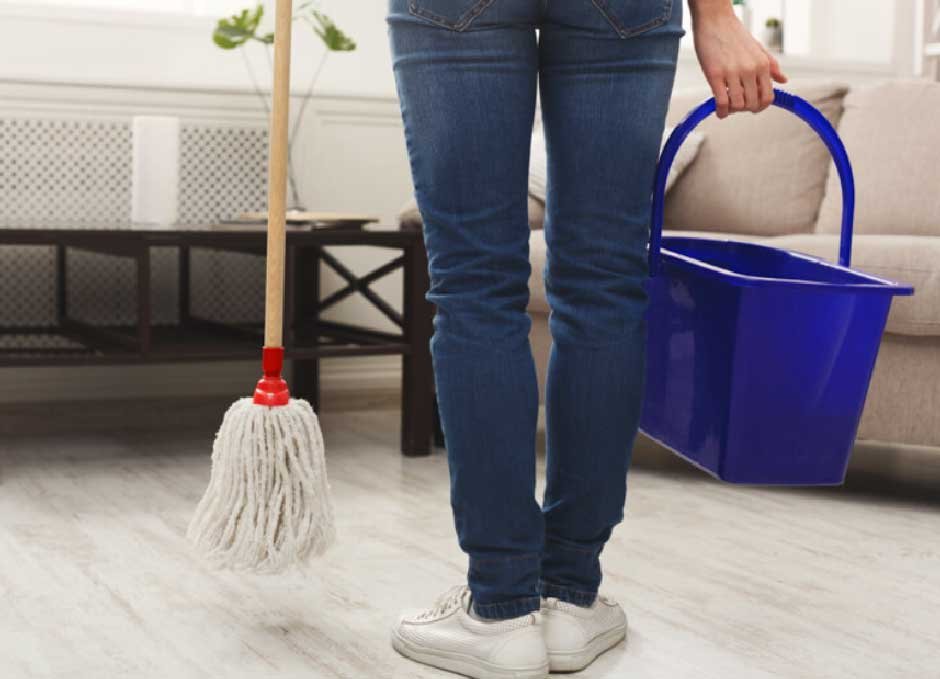
From there, a bit of ongoing care keeps everything looking fresh. Try to check the garage floor daily for new drips or leaks, especially after parking.
The sooner you catch a spill, the less work it’ll take to clean up. A weekly sweep or mop in your car’s usual spot is enough to prevent grime from building up.
To keep things in top shape, have the floor professionally assessed every few months. Moreover, check the condition of the sealer twice a year. If it looks like it’s wearing away, reapply before the surface becomes vulnerable again.
A little routine attention now will save a lot of effort later.
Conclusion
A spotless garage floor doesn’t just happen—it’s earned with a bit of care and the right tools. There’s something deeply satisfying about seeing concrete restored to its clean, solid self.
And once you’ve got it gleaming, you’ll wonder how you ever put up with anything less.